From your left main menu, select Miscellaneous
tasks.
From the Miscellaneous tasks menu, select Send correspondence.

Select Correspondence
radio button.

Do the following on the Send correspondence page:
Select the case ID, the template you want to use and add a description
for the correspondence.

Check Create a new case box
to convert your new correspondence to a case and threading replies
on it.
Select the To information for
your correspondence. You can send correspondence to a customer, another
user or user group, or role, etc.
In the Other field, enter any other recipients (be sure to include
their e-mail address).

Select the cc information for
the correspondence (who you want to copy). You can copy a customer,
another user or user group, or role, etc. on an e-mail.
In the Other field, enter any other recipients (be sure to include
their e-mail address).

Select the Bcc information
for the correspondence (who you want to make a blind carbon copy).
You can copy a customer, another user or user group, or role, etc.
on an e-mail.
In the Other field, enter any other recipients (be sure to include
their e-mail address).

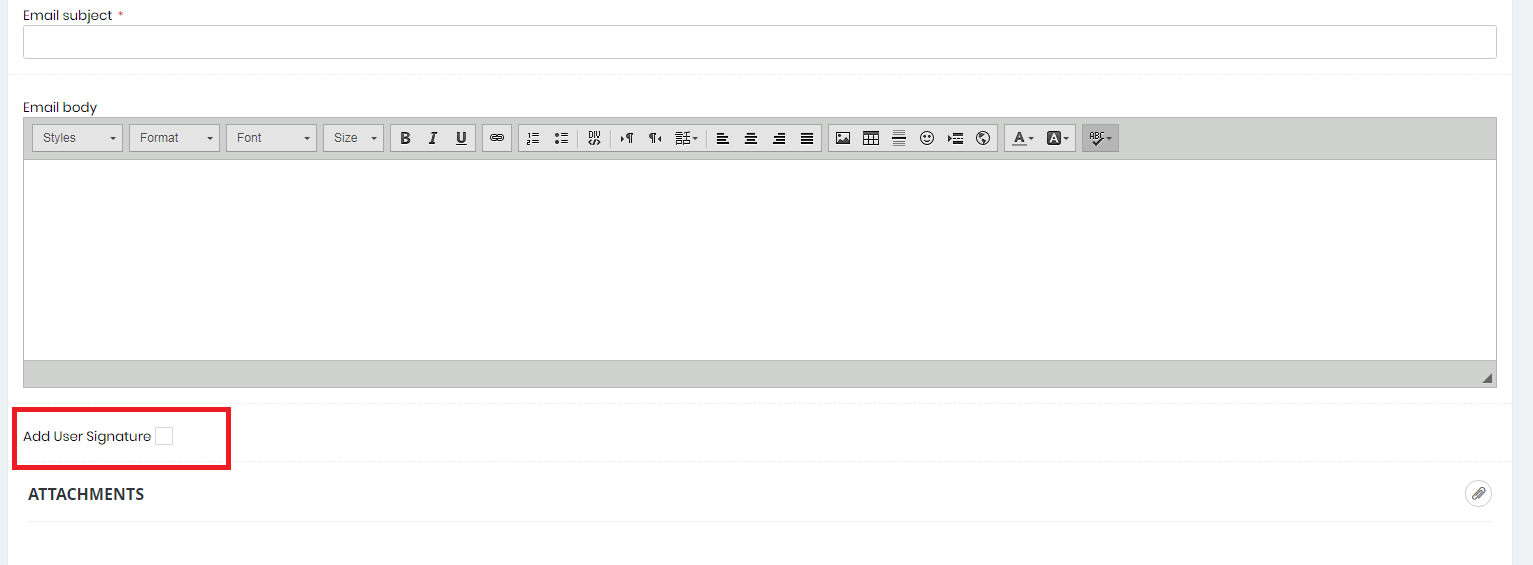
Check Add User Signature box
to include your signature in the new correspondence.
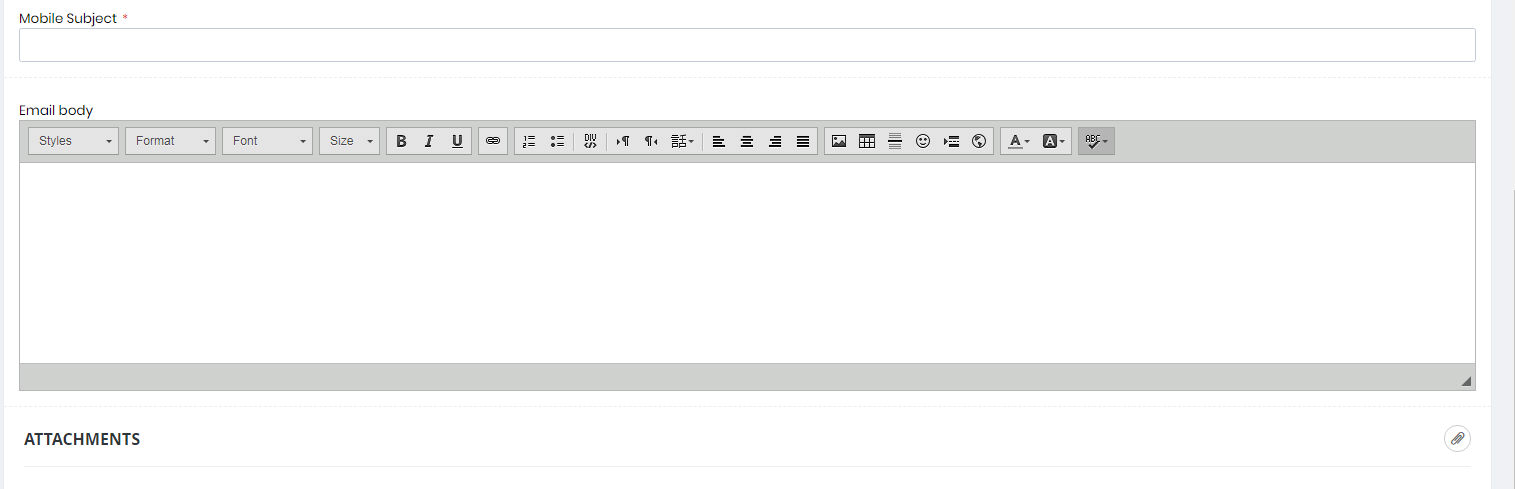
Type the subject and body of your correspondence. If you are using
a template, the template information will appear here. Customize the
information as necessary.
Add new attachments or select already exists attachment in the selected
case to your correspondence.
If you're done, click Send and close to send.
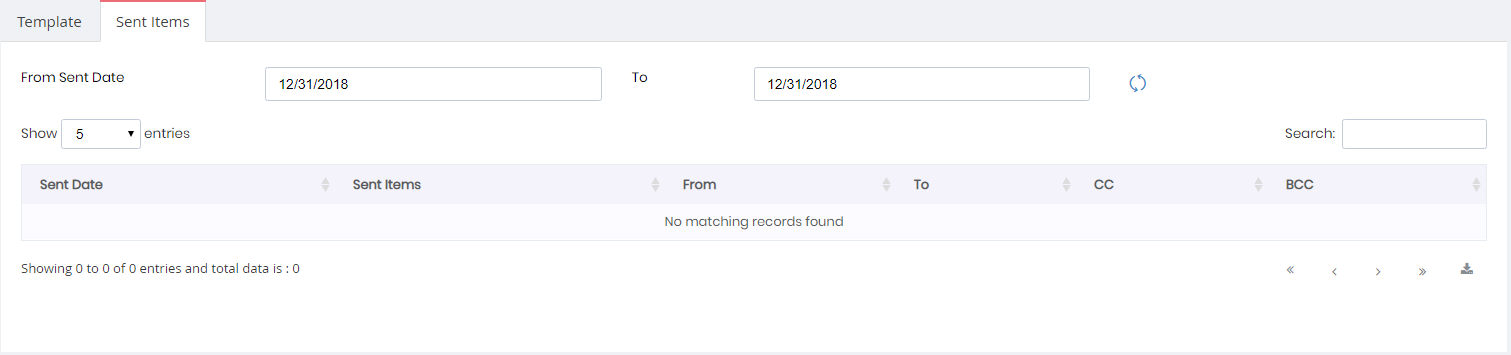
Review your sent items by opening Sent
Items tab and select Sent date range.
Click on the correspondence subject inside the data table to open its
content.